1. Overview
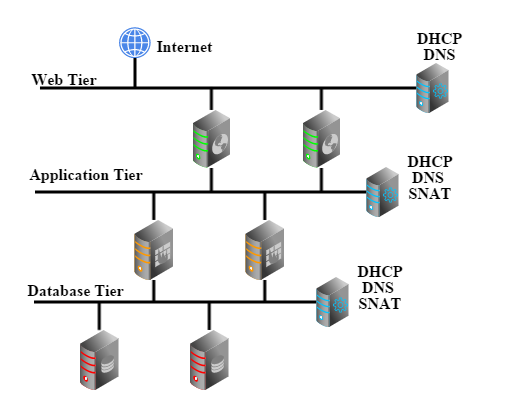
Three tiered network gets its popularity because users can deploy presentation layer, application layer, and database layer into separate networks, in order to get better isolation and security.
In this example, we will create a deployment that consists of three L3 networks: web network, application network, and database network. The web network connecting to internet can be reached by public traffic, application network and database network are private but can reach internet through source NAT. For the sake of demonstration, we will create 3 VMs: web-vm, application-vm, and database-vm; web-vm will have two nics that one is on web network and another is on application network; application-vm will have two nics too that one is on application network and another is on database network; database-vm will have only one nic that is on database network.
2. Prerequisites
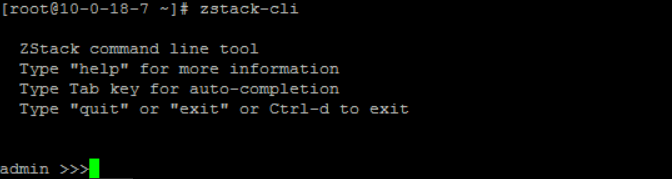
We assume you have followed Quick Installation Guide to install ZStack on a single Linux machine, and the ZStack management node is up and running. To use the command line tool, type below command in your shell terminal:
#zstack-cli
Connect to a remote management node
By default, zstack-cli connects to the ZStack management node on the local machine. To connect to a remote node, using option '-H ZSTACK_NODE_HOST_IP'; for example: zstack-cli -H 192.168.0.224To make things simple, we assume you have only one Linux machine with one network card that can access the internet; besides, there are some other requirements:
- At least 20G free disk that can be used as primary storage and backup storage
- Several free IPs that can access the internet
- NFS server is enabled on the machine (done in Quick Installation Guide)
- SSH credentials for user root (done in Quick Installation Guide)
Configure root user
The KVM host will need root user credentials of SSH, to allow Ansible to install necessary packages and to give the KVM agent full control of the host. As this tutorial use a single machine for both ZStack management node and KVM host, you will need to configure credentials for the root user.CentOS:
sudo su
passwd root
Based on those requirements, we assume below setup information:
- ethernet device names: eth0
- eth0 IP: 172.20.11.34
- free IP range: 10.121.25.10 ~ 10.121.25.100 (these IPs can access the internet)
- primary storage folder: /zstack_ps
- backup storage folder: /zstack_bs
Slow VM stopping due to lack of ACPID:
Though we don't show the example of stopping VM, you may find stopping a VM takes more than 60s. That's because the VM image doesn't support ACPID that receives KVM's shutdown event, ZStack has to wait for 60 seconds timeout then destroy it. It's not a problem for regular Linux distributions which have ACPID installed.3. LogIn
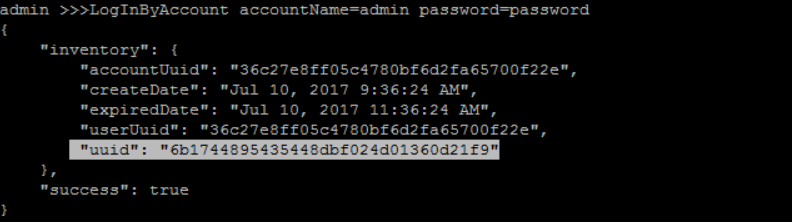
open zstack-cli and login with admin/password:
>>> LogInByAccount accountName=admin password=password
4. Create Zone
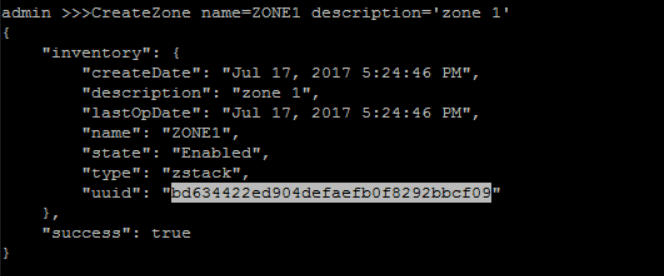
create a zone with name 'ZONE1' and description 'zone 1':
>>> CreateZone name=ZONE1 description='zone 1'
Substitute your UUIDs for those in this tutorial
Resources are all referred by UUIDs in CLI tutorials. The UUIDs are generated by ZStack when you create a resource, so they may vary from what you see in tutorials. UUIDs of resources will be printed out in a JSON object to the screen after resources are created; however, it's inconvenient to scroll up screen to find UUIDs of resources that are created very early. We add buttons to sections, which will show you commands of retrieving UUIDs of resources,
so please make sure you replace UUIDs in tutorials with yours.
to sections, which will show you commands of retrieving UUIDs of resources,
so please make sure you replace UUIDs in tutorials with yours.
5. Create Cluster
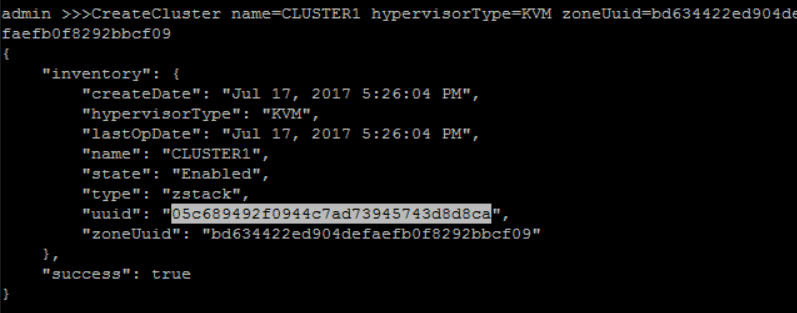
create a cluster with name 'CLUSTER1' and hypervisorType 'KVM' under zone 'ZONE1':
QueryZone fields=uuid, name=ZONE1>>> CreateCluster name=CLUSTER1 hypervisorType=KVM zoneUuid=bd634422ed904defaefb0f8292bbcf09
6. Create Host
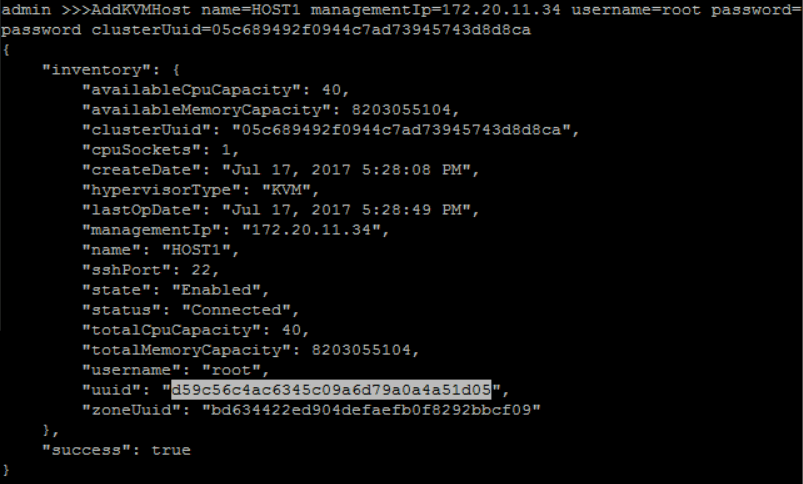
add KVM Host 'HOST1' under 'CLUSTER1' with correct host IP address and root username and password:
QueryCluster fields=uuid, name=CLUSTER1>>> AddKVMHost name=HOST1 managementIp=172.20.11.34 username=root password=password clusterUuid=05c689492f0944c7ad73945743d8d8ca
A little slow when first time adding a host
It may take a few minutes to add a host because Ansible will install all dependent packages, for example, KVM, on the host.7. Add Primary Storage
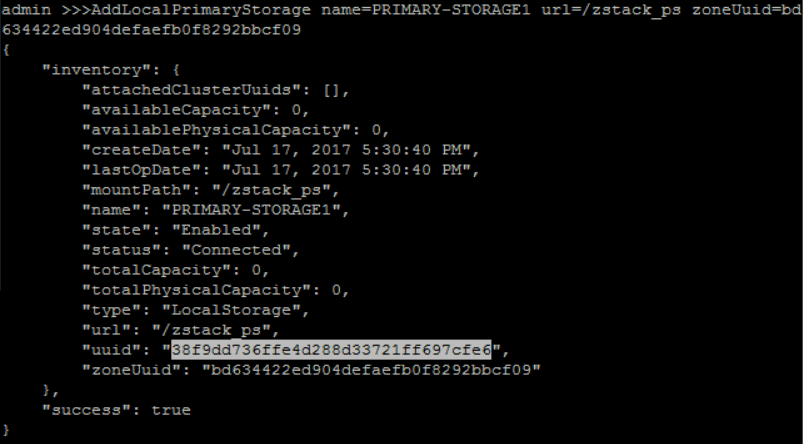
add Primary Storage 'PRIMAYR-STORAGE1' with NFS URI '/zstack_ps' under zone 'ZONE1':
QueryZone fields=uuid, name=ZONE1>>> AddLocalPrimaryStorage name=PRIMARY-STORAGE1 url=/zstack_ps zoneUuid=bd634422ed904defaefb0f8292bbcf09
Format of NFS URL
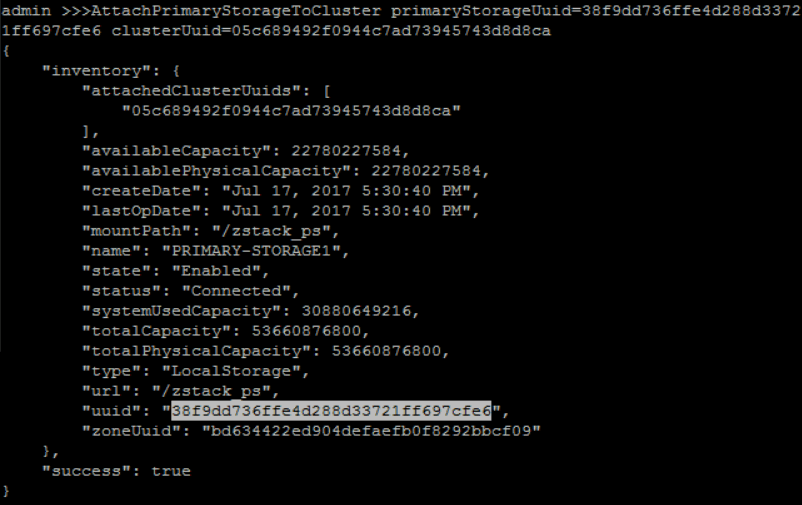
The format of URL is exactly the same to the one used by Linux mount command.attach 'PRIMARY-STORAGE1' to 'CLUSTER1':
QueryCluster fields=uuid, name=CLUSTER1QueryPrimaryStorage fields=uuid, name=PRIMARY-STORAGE1>>> AttachPrimaryStorageToCluster primaryStorageUuid=38f9dd736ffe4d288d33721ff697cfe6 clusterUuid=05c689492f0944c7ad73945743d8d8ca
8. Add Backup Storage
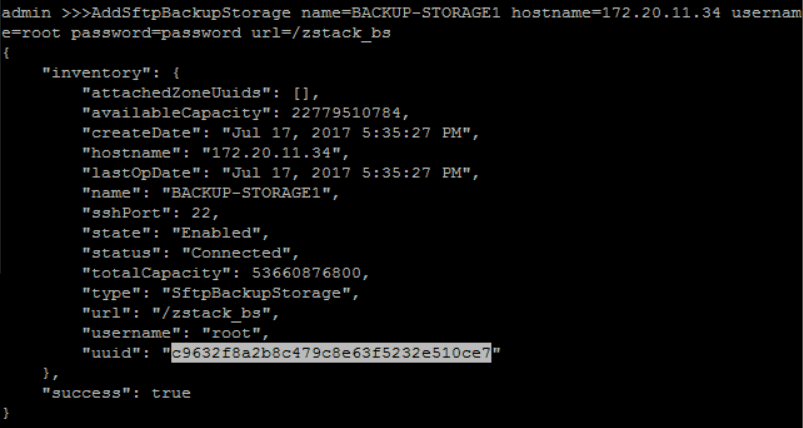
add sftp Backup Storage 'BACKUP-STORAGE1' with backup storage host IP address('172.20.11.34'), root username('root'), password('password') and sftp folder path('/zstack_bs'):
>>> AddSftpBackupStorage name=BACKUP-STORAGE1 hostname=172.20.11.34 username=root password=password url=/zstack_bs
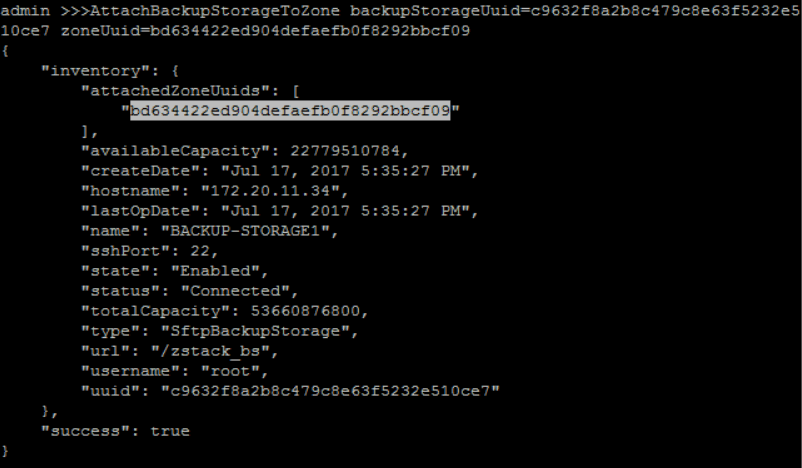
attach new created Backup Storage('BACKUP-STORAGE1') to zone('ZONE1'):
QueryZone fields=uuid, name=ZONE1QueryBackupStorage fields=uuid, name=BACKUP-STORAGE1>>> AttachBackupStorageToZone backupStorageUuid=c9632f8a2b8c479c8e63f5232e510ce7 zoneUuid=bd634422ed904defaefb0f8292bbcf09
9. Add Image
add Image('zs-sample-image') with format 'qcow2', 'RootVolumeTemplate' type, 'Linux' platform and image URL('http://cdn.zstack.io/product_downloads/images/zstack-image.qcow2') to backup storage ('BACKUP-STORAGE1'):
QueryBackupStorage fields=uuid, name=BACKUP-STORAGE1>>> AddImage name=zs-sample-image format=qcow2 mediaType=RootVolumeTemplate platform=Linux url=http://192.168.200.100/mirror/diskimages/centos7-test.qcow2 backupStorageUuids=c9632f8a2b8c479c8e63f5232e510ce7
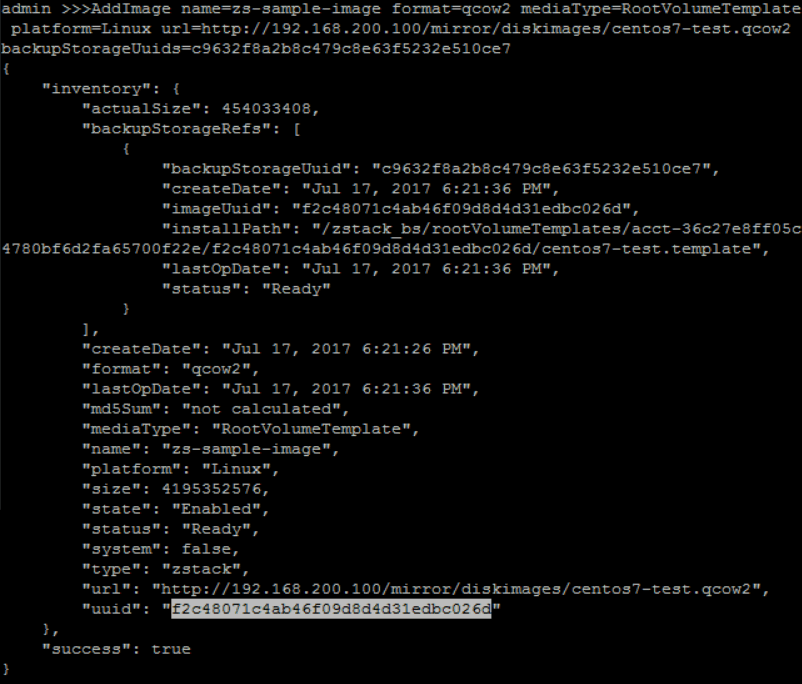
this image will be used as user VM image.
add another Image('VIRTUAL-ROUTER') with format 'qcow2', 'RootVolumeTemplate' type, 'Linux' platform and image URL(http://cdn.zstack.io/product_downloads/vrouter/zstack-vrouter-2.0.0.qcow2) to backup storage ('BACKUP-STORAGE1'):
QueryBackupStorage fields=uuid, name=BACKUP-STORAGE1Fast link for users of Mainland China
.................................http://cdn.zstack.io/product_downloads/vrouter/zstack-vrouter-2.0.0.qcow2>>> AddImage name=VIRTUAL-ROUTER format=qcow2 mediaType=RootVolumeTemplate platform=Linux url=http://192.168.200.100/mirror/diskimages/zstack-vrouter-latest.qcow2 backupStorageUuids=c9632f8a2b8c479c8e63f5232e510ce7
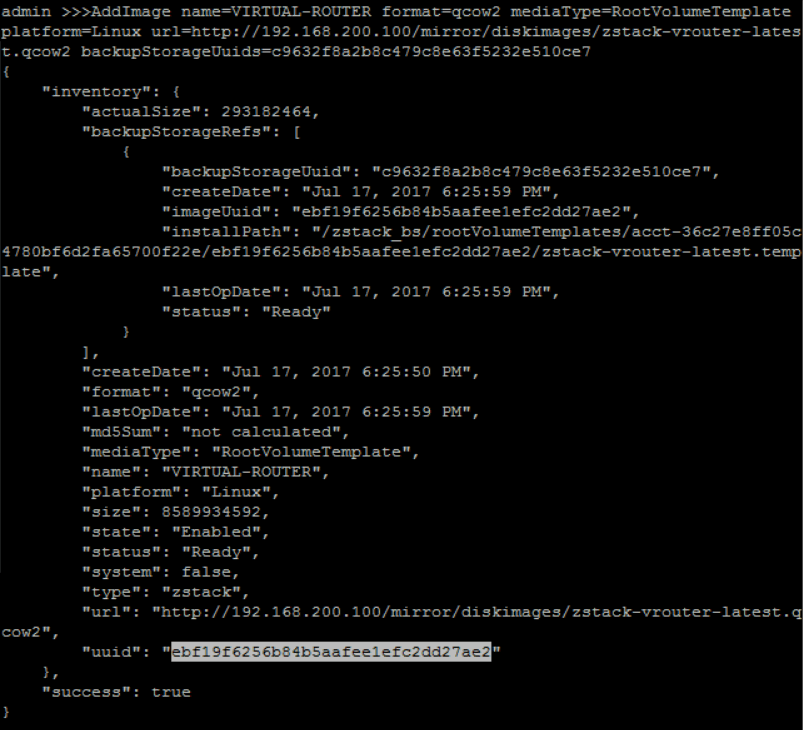
this image will be used as Virtual Router VM image.
Cache images in your local HTTP server
The virtual router image is about 432M that takes a little of time to download. We suggest you use a local HTTP server to store it and images created by yourself.10. Create Public L2 Network
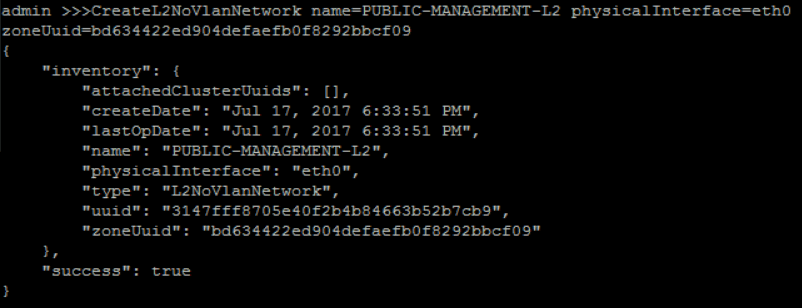
create No Vlan Public L2 Network 'PUBLIC-MANAGEMENT-L2' with physical interface as 'eth0' under 'ZONE1':
QueryZone fields=uuid, name=ZONE1>>> CreateL2NoVlanNetwork name=PUBLIC-MANAGEMENT-L2 physicalInterface=eth0 zoneUuid=69b5be02a15742a08c1b7518e32f442a
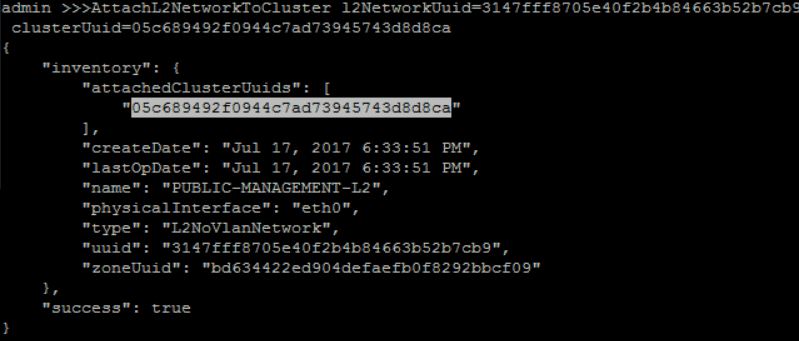
attach 'PUBLIC-MANAGEMENT-L2' to 'CLUSTER1':
QueryCluster fields=uuid, name=CLUSTER1QueryL2Network fields=uuid, name=PUBLIC-MANAGEMENT-L2>>> AttachL2NetworkToCluster l2NetworkUuid=3147fff8705e40f2b4b84663b52b7cb9 clusterUuid=05c689492f0944c7ad73945743d8d8ca
11. Create Public L3 Network
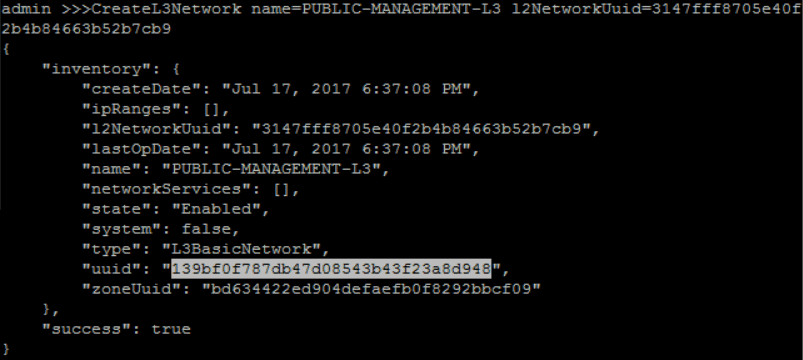
on L2 'PUBLIC-MANAGEMENT-L2', create Public Management L3 'PUBLIC-MANAGEMENT-L3':
QueryL2Network fields=uuid, name=PUBLIC-MANAGEMENT-L2>>> CreateL3Network name=PUBLIC-MANAGEMENT-L3 l2NetworkUuid=3147fff8705e40f2b4b84663b52b7cb9
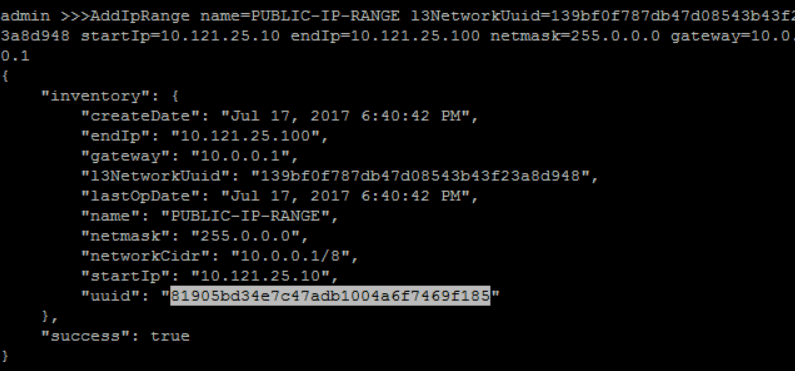
create IP Range for 'PUBLIC-MANAGEMENT-L3':
QueryL3Network fields=uuid, name=PUBLIC-MANAGEMENT-L3>>> AddIpRange name=PUBLIC-IP-RANGE l3NetworkUuid=139bf0f787db47d08543b43f23a8d948 startIp=10.121.25.10 endIp=10.121.25.100 netmask=255.0.0.0 gateway=10.0.0.1
add DNS for 'PUBLIC-MANAGEMENT-L3':
QueryL3Network fields=uuid, name=PUBLIC-MANAGEMENT-L3>>> AddDnsToL3Network l3NetworkUuid=139bf0f787db47d08543b43f23a8d948 dns=8.8.8.8

we need to get UUIDS of available network service providers, before attaching any virtual router services to the L3 network:
>>> QueryNetworkServiceProvider
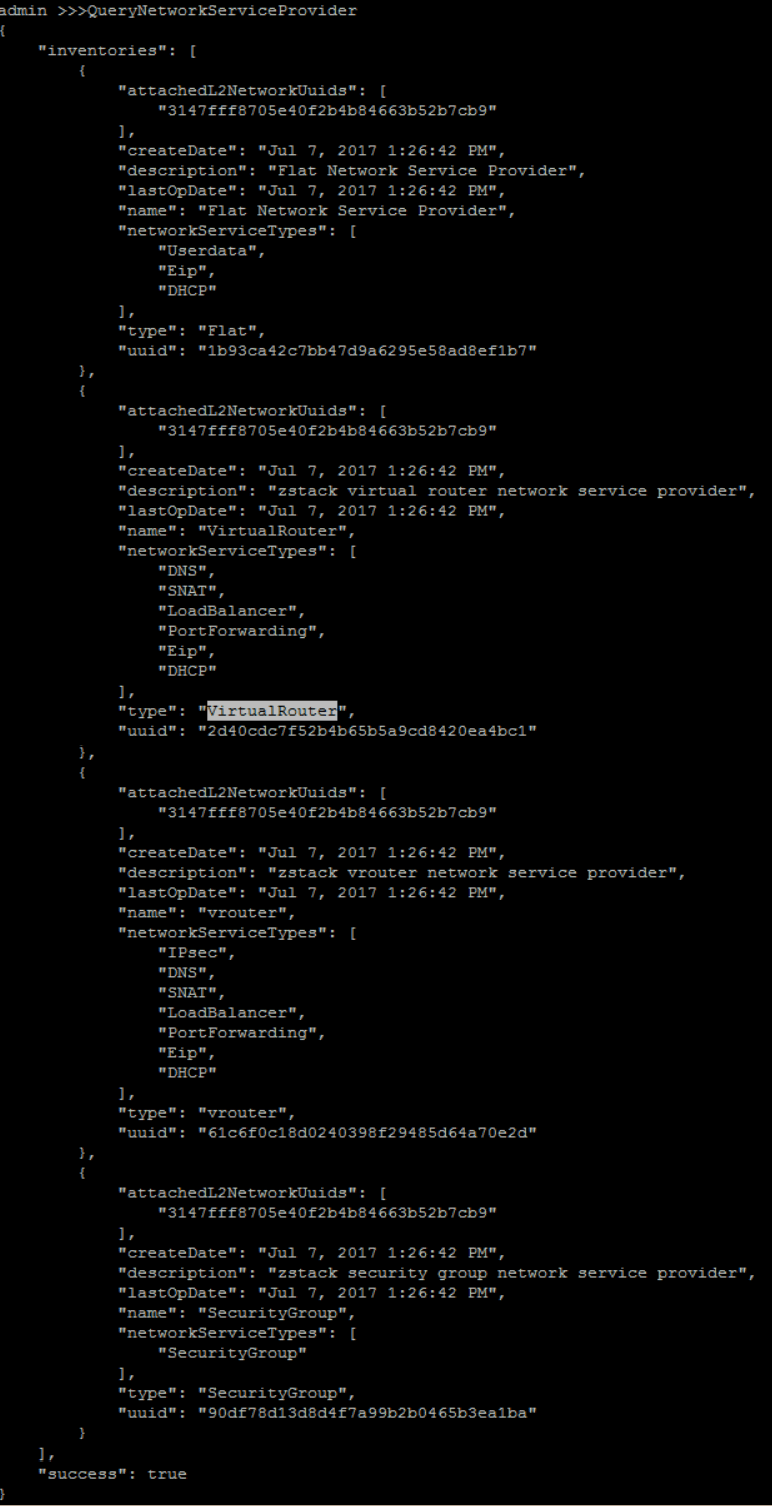
there are 2 available network service providers. In this tutorial, we just need the Virtual Router, which could provide 'DHCP', 'SNAT', 'DNS', 'PortForwarding' and 'Eip'.
attach VirtualRouter services 'DHCP' and 'DNS' to 'PUBLIC-MANAGEMENT-L3':
QueryL3Network fields=uuid, name=PUBLIC-MANAGEMENT-L3QueryNetworkServiceProvider fields=uuid, name=VirtualRouterStructure of parameter networkServices
It's a JSON object of map that key is UUID of network service provider and value is a list of network service types.>>> AttachNetworkServiceToL3Network networkServices="{'61c6f0c18d0240398f29485d64a70e2d':['IPsec','DNS','SNAT','LoadBalancer','PortForwarding','Eip','DHCP']}" l3NetworkUuid=139bf0f787db47d08543b43f23a8d948

12. Create Application L2 Network
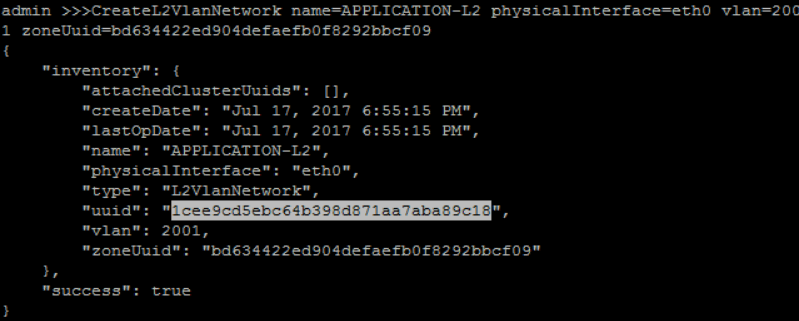
create Vlan L2 Network 'APPLICATION-L2' with physical interface as 'eth0' and vlan '100' under 'ZONE1':
QueryZone fields=uuid, name=ZONE1>>> CreateL2VlanNetwork name=APPLICATION-L2 physicalInterface=eth0 vlan=2001 zoneUuid=bd634422ed904defaefb0f8292bbcf09
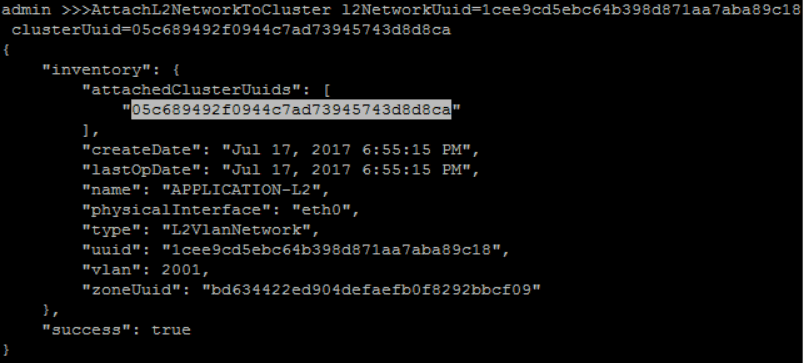
attach 'APPLICATION-L2' to 'CLUSTER1':
QueryCluster fields=uuid, name=CLUSTER1QueryL2Network fields=uuid, name=APPLICATION-L2>>> AttachL2NetworkToCluster l2NetworkUuid=1cee9cd5ebc64b398d871aa7aba89c18 clusterUuid=05c689492f0944c7ad73945743d8d8ca
13. Create Application L3 Network
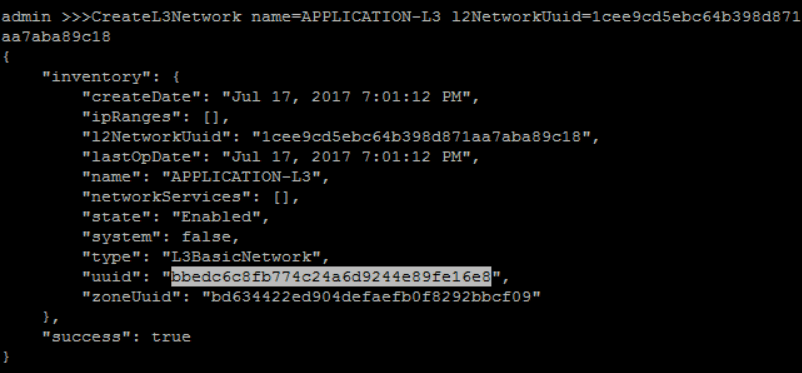
on L2 'APPLICATION-L2', create Application L3 'APPLICATION-L3':
QueryL2Network fields=uuid, name=APPLICATION-L2>>> CreateL3Network name=APPLICATION-L3 l2NetworkUuid=1cee9cd5ebc64b398d871aa7aba89c18
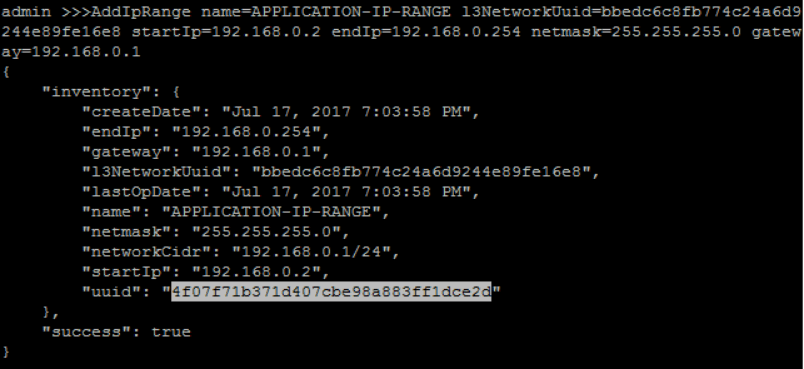
create IP Range for 'APPLICATION-L3':
QueryL3Network fields=uuid, name=APPLICATION-L3>>> AddIpRange name=APPLICATION-IP-RANGE l3NetworkUuid=bbedc6c8fb774c24a6d9244e89fe16e8 startIp=192.168.0.2 endIp=192.168.0.254 netmask=255.255.255.0 gateway=192.168.0.1
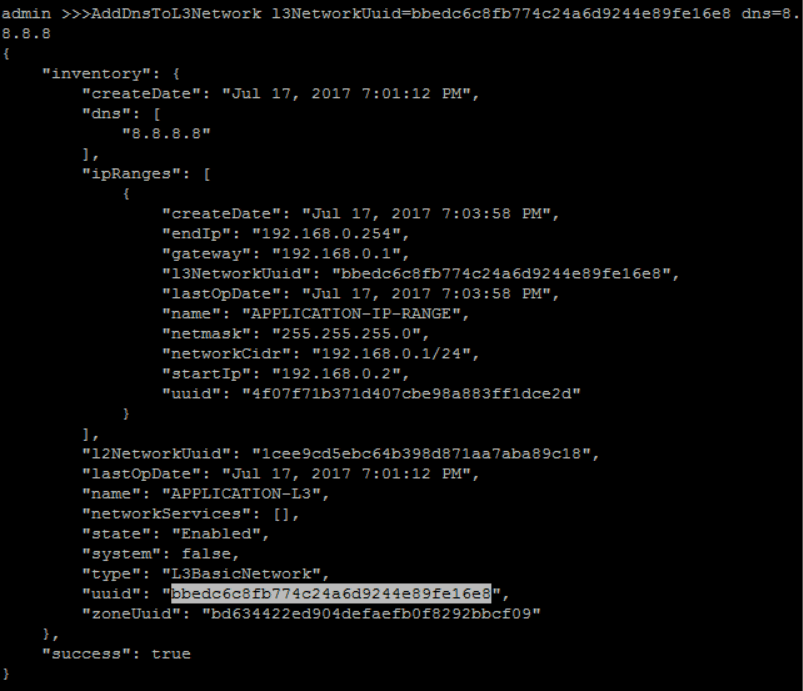
add DNS for 'APPLICATION-L3':
QueryL3Network fields=uuid, name=APPLICATION-L3>>> AddDnsToL3Network l3NetworkUuid=12e3b797f903436cb7a13f33b6cc561e dns=8.8.8.8
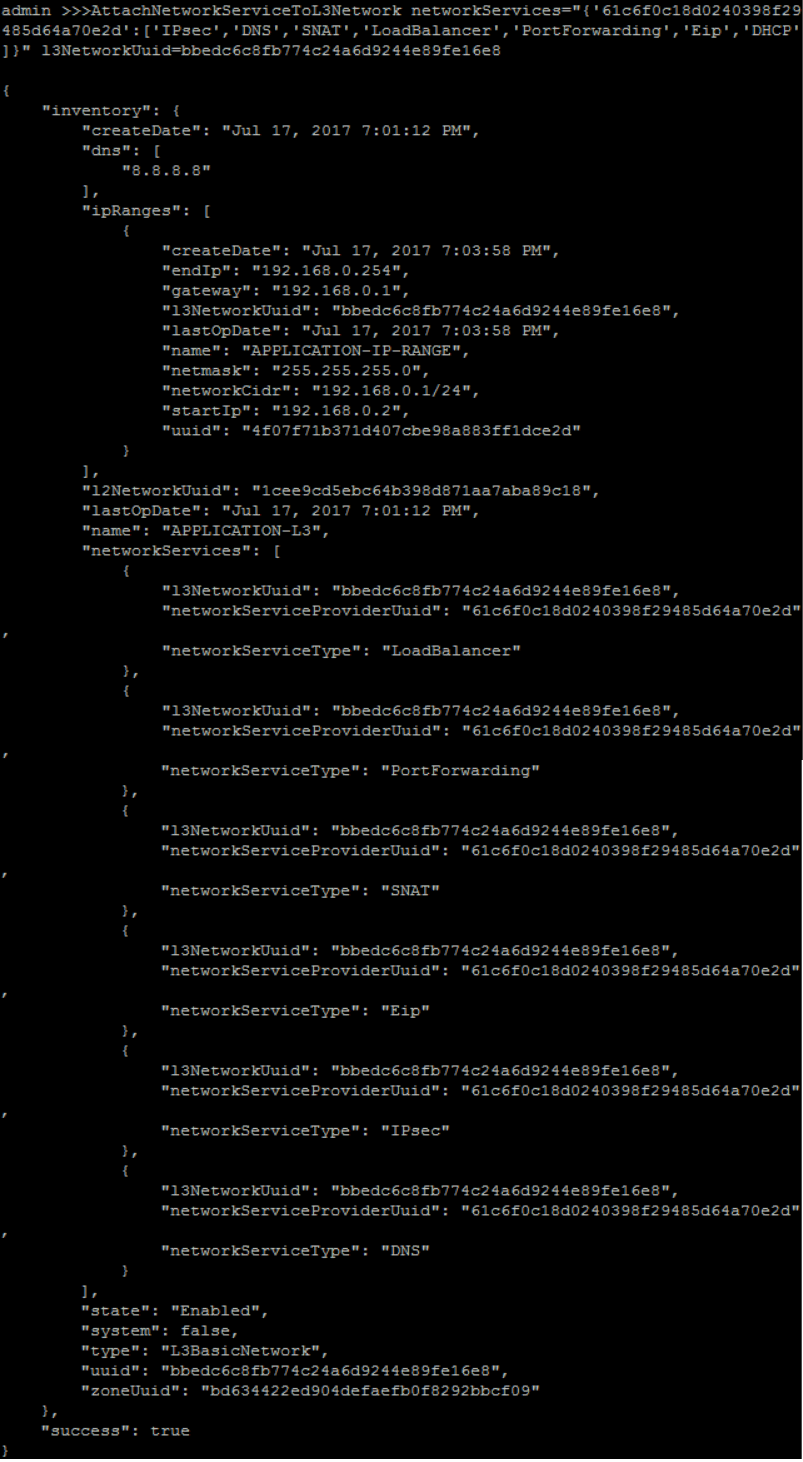
attach VirtualRouter services 'DHCP', 'DNS' and 'SNAT' to 'APPLICATION-L3':
QueryL3Network fields=uuid, name=APPLICATION-L3QueryNetworkServiceProvider fields=uuid, name=VirtualRouter>>> AttachNetworkServiceToL3Network networkServices="{'61c6f0c18d0240398f29485d64a70e2d':['IPsec','DNS','SNAT','LoadBalancer','PortForwarding','Eip','DHCP']}" l3NetworkUuid=bbedc6c8fb774c24a6d9244e89fe16e8
14. Create Database L2 Network
create Vlan L2 Network 'DATABASE-L2' with physical interface as 'eth0' and vlan '101' under 'ZONE1':
QueryZone fields=uuid, name=ZONE1>>> CreateL2VlanNetwork name=DATABASE-L2 physicalInterface=eth0 vlan=2002 zoneUuid=bd634422ed904defaefb0f8292bbcf09

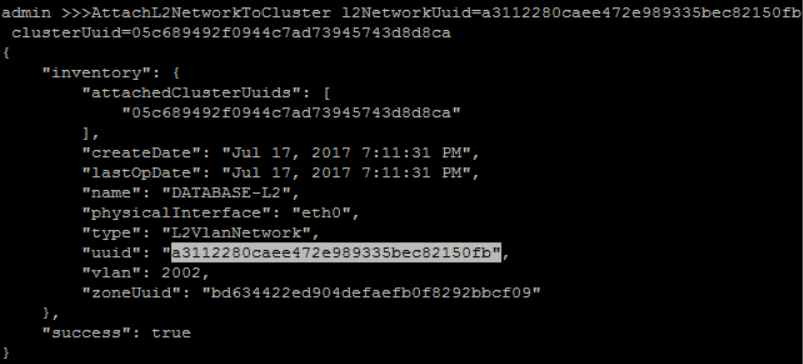
attach 'DATABASE-L2' to 'CLUSTER1':
QueryCluster fields=uuid, name=CLUSTER1QueryL2Network fields=uuid, name=DATABASE-L2>>> AttachL2NetworkToCluster l2NetworkUuid=a3112280caee472e989335bec82150fb clusterUuid=05c689492f0944c7ad73945743d8d8ca
15. Create Database L3 Network
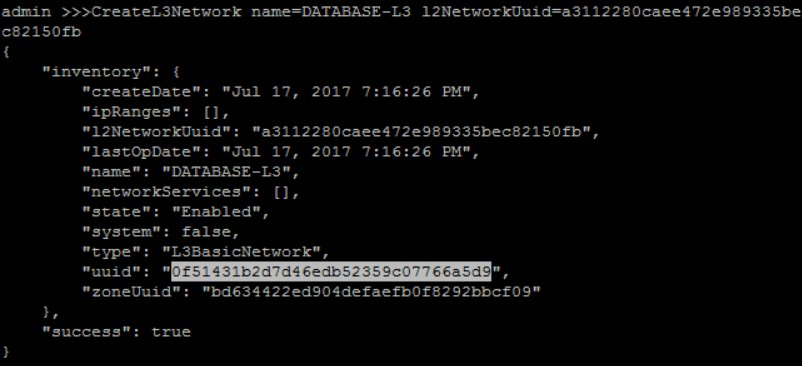
on L2 'DATABASE-L2', create Database L3 'DATABASE-L3' with domain name 'database.zstack.org':
QueryL2Network fields=uuid, name=DATABASE-L2>>> CreateL3Network name=DATABASE-L3 l2NetworkUuid=a3112280caee472e989335bec82150fb
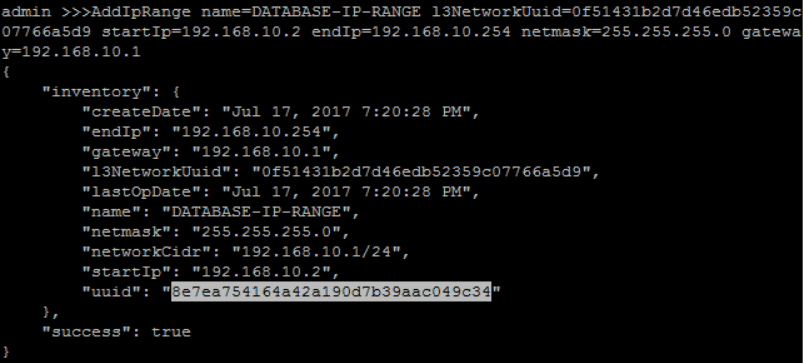
create IP Range for 'DATABASE-L3':
QueryL3Network fields=uuid, name=DATABASE-L3>>> AddIpRange name=DATABASE-IP-RANGE l3NetworkUuid=ca289521b7e0443abfb42cd1b669f548 startIp=192.168.10.2 endIp=192.168.10.254 netmask=255.255.255.0 gateway=192.168.10.1
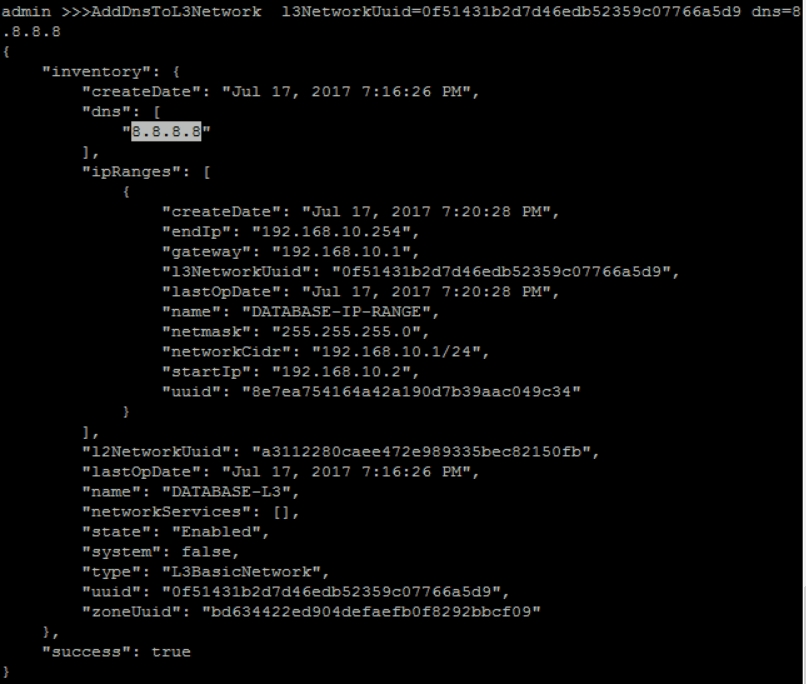
add DNS for 'DATABASE-L3':
QueryL3Network fields=uuid, name=DATABASE-L3>>> AddDnsToL3Network l3NetworkUuid=0f51431b2d7d46edb52359c07766a5d9 dns=8.8.8.8
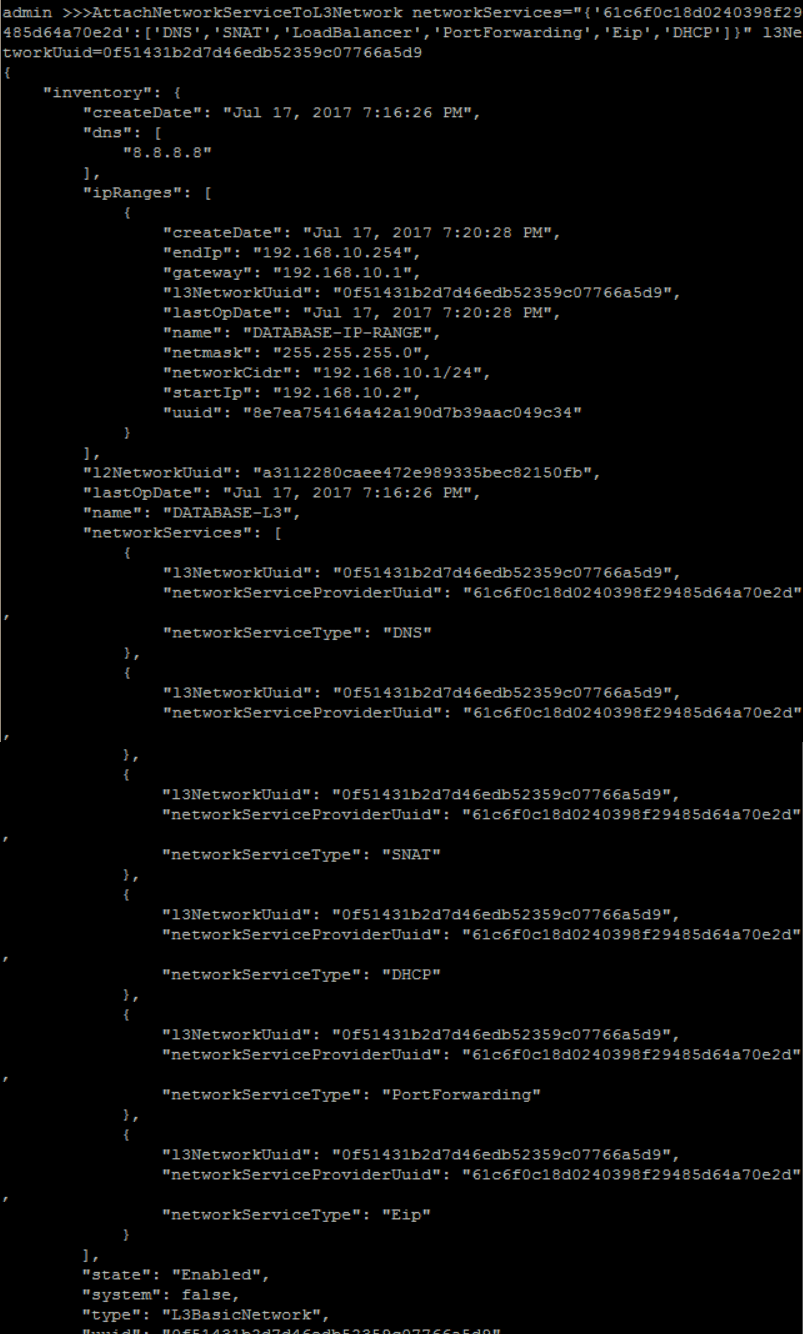
attach VirtualRouter services 'DHCP', 'DNS' and 'SNAT' to 'DATABASE-L3':
QueryL3Network fields=uuid, name=DATABASE-L3QueryNetworkServiceProvider fields=uuid, name=VirtualRouter>>> AttachNetworkServiceToL3Network networkServices="{'4d2e4116a680421ea731a4f128c417f2':['DHCP','DNS','SNAT']}" l3NetworkUuid=ca289521b7e0443abfb42cd1b669f548
16. Create Instance Offering
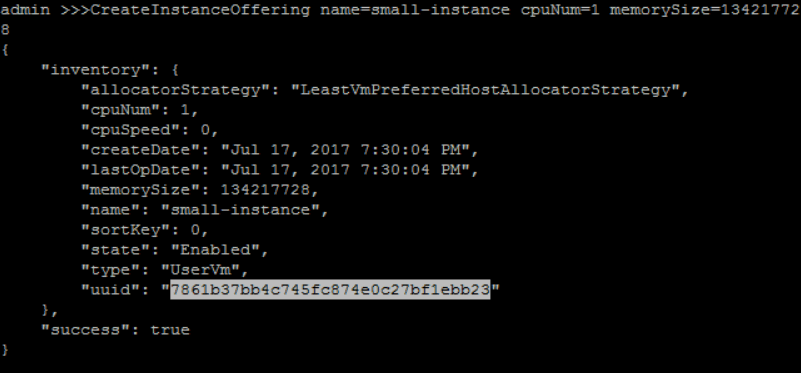
create a guest VM instance offering 'small-instance' with 1 512Mhz CPU and 128MB memory:
>>> CreateInstanceOffering name=small-instance cpuNum=1 cpuSpeed=512 memorySize=134217728
17. Create Virtual Router Offering
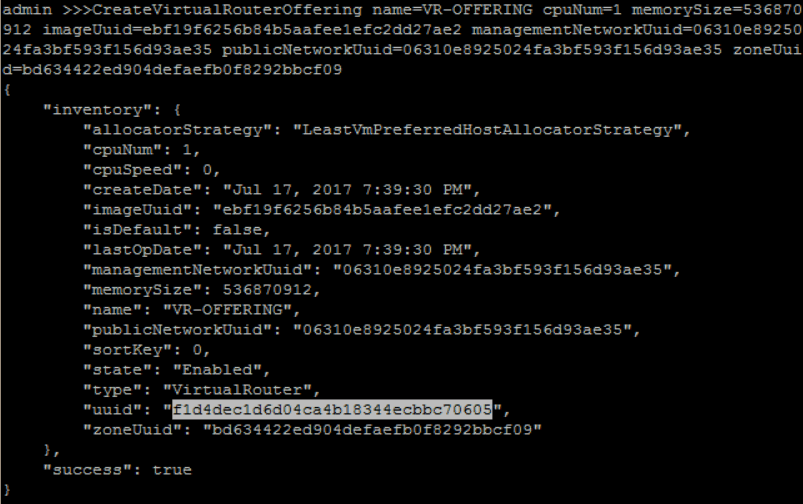
create a Virtual Router VM instance offering 'VR-OFFERING' with 1 512Mhz CPU, 512MB memory, management L3 network 'PUBLIC-MANAGEMENT-L3', public L3 network 'PUBLIC-MANAGEMENT-L3' and isDefault 'True':
QueryImage fields=uuid, name=VIRTUAL-ROUTERQueryL3Network fields=uuid,name, name=PUBLIC-MANAGEMENT-L3QueryZone fields=uuid, name=ZONE1>>> CreateVirtualRouterOffering name=VR-OFFERING cpuNum=1 memorySize=536870912 imageUuid=ebf19f6256b84b5aafee1efc2dd27ae2 managementNetworkUuid=06310e8925024fa3bf593f156d93ae35 publicNetworkUuid=06310e8925024fa3bf593f156d93ae35 zoneUuid=bd634422ed904defaefb0f8292bbcf09
18. Create WEB VM
create a new WEB VM instance with configuration:
- instance offering 'small-instance'
- image 'zs-sample-image'
- L3 network 'PUBLIC-MANAGEMENT-L3'(default L3) and 'APPLICATION-L3'
- name 'WEB-VM1'
- hostname 'web'
QueryInstanceOffering fields=uuid, name=small-instanceQueryImage fields=uuid, name=zs-sample-imageQueryL3Network fields=uuid,name, name?=PUBLIC-MANAGEMENT-L3,APPLICATION-L3>>> CreateVmInstance name=WEB-VM1 instanceOfferingUuid=f1d4dec1d6d04ca4b18344ecbbc70605 imageUuid=f2c48071c4ab46f09d8d4d31edbc026d l3NetworkUuids=0f51431b2d7d46edb52359c07766a5d9,bbedc6c8fb774c24a6d9244e89fe16e8 defaultL3NetworkUuid=bbedc6c8fb774c24a6d9244e89fe16e8

The first user VM takes more time to create
For the first user VM, ZStack needs to download the image from the backup storage to the primary storage and create a virtual router VM on the private L3 network, so it takes about 1 ~ 2 minutes to finish.19. Create Application VM
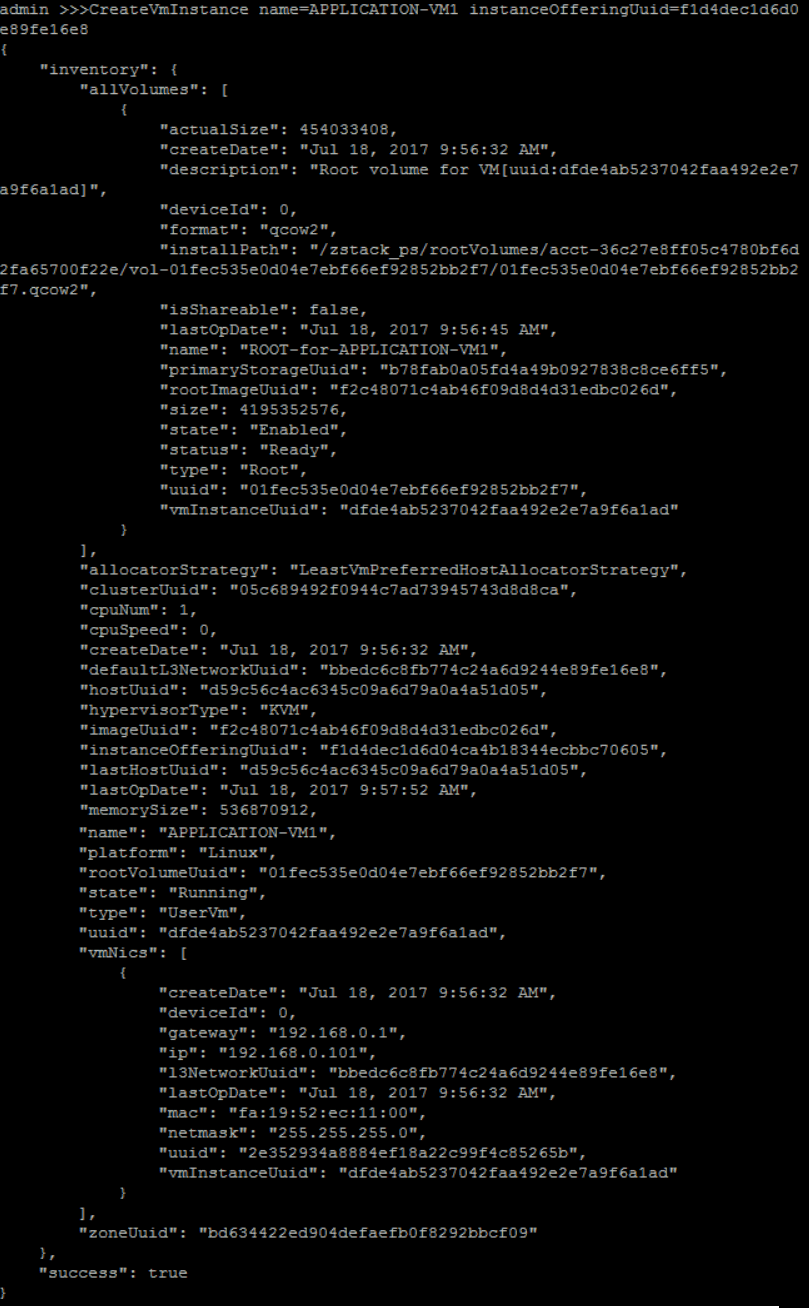
create a new Application VM instance with configuration:
- instance offering 'small-instance'
- image 'zs-sample-image'
- L3 network 'APPLICATION-L3'(default L3) and 'DATABASE-L3'
- name 'APPLICATION-VM1'
- hostname 'application'
QueryInstanceOffering fields=uuid, name=small-instanceQueryImage fields=uuid, name=zs-sample-imageQueryL3Network fields=uuid,name, name?=APPLICATION-L3>>> CreateVmInstance name=APPLICATION-VM1 instanceOfferingUuid=f1d4dec1d6d04ca4b18344ecbbc70605 imageUuid=f2c48071c4ab46f09d8d4d31edbc026d l3NetworkUuids=bbedc6c8fb774c24a6d9244e89fe16e8
Again, slow because of creating the virtual router VM
Because it's the first VM on DATABASE-L3 network, ZStack will start the virtual router VM before creating APPLICATION-VM, it will takes about 1 minute to finish. Future VMs creation on the DATABASE-L3 will be extremely fast.20. Create Database VM
create a new Application VM instance with configuration:
- instance offering 'small-instance'
- image 'zs-sample-image'
- L3 network 'DATABASE-L3'
- input name as 'DATABASE-VM'
- input host name as 'database'
QueryInstanceOffering fields=uuid, name=small-instanceQueryImage fields=uuid, name=zs-sample-imageQueryL3Network fields=uuid,name, name=DATABASE-L3>>> CreateVmInstance name=DATABASE-VM1 instanceOfferingUuid=f1d4dec1d6d04ca4b18344ecbbc70605 imageUuid=f2c48071c4ab46f09d8d4d31edbc026d l3NetworkUuids=0f51431b2d7d46edb52359c07766a5d9

21. Confirm Network Connectivity
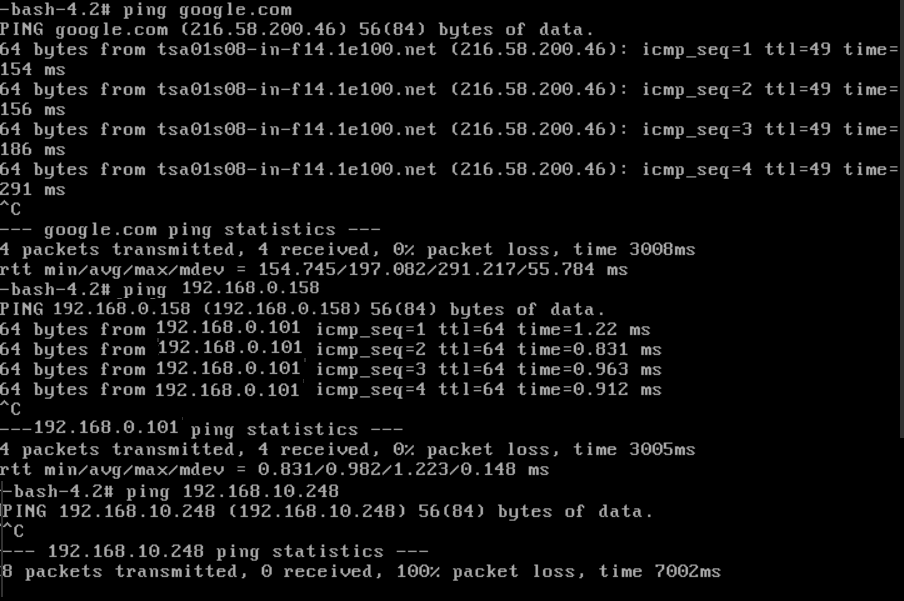
use a machine that can reach login the WEB-VM1(username:root, password:password) and see 2 IP addresses:
after login into WEB-VM1, you could ping 'www.google.com', then ping IP '192.168.0.158', which is APPLICATION-VM1:
QueryVmNic fields=ip vmInstance.name=WEB-VM1 l3Network.name=PUBLIC-MANAGEMENT-L3# ping 192.168.0.158
Summary
In this example, we showed you how to create a three tiered network in ZStack. For the sake of demonstration, we don't apply any firewall. You can use security group combining with this example to create a more secure deployment. For more details, please visit L3 Network in user manual.